How I build an IoT beer monitoring system 🍺
If you're a beer enthusiast who loves both technology and DIY projects, creating a beer monitoring system is the perfect way to combine your passions.Here is how I built a system that tracks the amount of beer left in a keg using an ESP32 microcontroller, a flow meter, Azure IoT Hub, CosmosDB, and a web dashboard.
The goal of this project was to monitor the amount of beer left in a keg and present this data in an accessible and visually appealing way. The system needed to be reliable, scalable, and easy to interact with, which made Azure IoT Hub and CosmosDB the perfect choices for cloud infrastructure.
Here's a quick breakdown of the components involved:
- ESP32 Microcontroller: Handles data collection from the flow meter.
- Flow Meter: Measures the amount of beer dispensed. I am using a DIGMESA FHKU 3/8" flowmeter.
- Azure IoT Hub: Connects the ESP32 to the cloud, handling device communication and data ingestion.
- CosmosDB: Stores the data in a scalable and efficient NoSQL database.
Step 1: Setting Up the Hardware
Wiring the Flow Meter to the ESP32:
- Connect the VCC(brown wire) pin of the flow meter to the 3.3V output of the ESP32.
- Connect the GND(green wire) pin of the flow meter to the GND pin of the ESP32.
- Connect the signal(white wire) pin of the flow meter to one of the digital input pins on the ESP32. I used the pin 14.
The flow meter sends pulses to the ESP32 as liquid passes through it, and by counting these pulses, we can calculate the volume of beer dispensed.
Step 2: Programming the ESP32
Next, I wrote a simple program for the ESP32 to read the flow meter data and send it to Azure IoT Hub. The program was developed using the Arduino IDE with the necessary libraries for Wi-Fi connectivity and Azure IoT communication. Since I wanted the ESP32 to keep reading data from the flow meter while it was sending data to the IoT Hub I used the ESP32's multitasking capabilities by using FreeRTOS.
#include <WiFi.h>
#include <AzureIoTHub.h>

// WiFi credentials
const char* ssid = "your_SSID";
const char* password = "your_PASSWORD";

// Azure IoT Hub credentials
const char* connectionString = "HostName=your-iot-hub.azure-devices.net;DeviceId=your-device-id;SharedAccessKey=your-device-key";

// Pin definition for the flow meter signal
const int flowMeterPin = 14;

// Variables to store pulse count, flow rate, and total volume
volatile unsigned long pulseCount = 0;
unsigned long previousMillis = 0;
const unsigned long interval = 1000; // Interval to calculate flow rate in milliseconds
float totalVolume = 0.0; // Total volume in liters

// Flow meter parameters (example values, adjust as needed)
const float pulsesPerLiter = 236.0; // Pulses per liter for Ø5.6mm nozzle

QueueHandle_t volumeQueue;

// Forward declaration of the sendDataToAzure function
void sendDataToAzure(void * parameter);

// Initialize the IoT Hub client
IOTHUB_CLIENT_LL_HANDLE iotHubClientHandle;

void IRAM_ATTR pulseCounter() {
  pulseCount++;
}

void setup_wifi() {
  delay(10);
  Serial.println();
  Serial.print("Connecting to ");
  Serial.println(ssid);

  WiFi.begin(ssid, password);

  while (WiFi.status() != WL_CONNECTED) {
    delay(500);
    Serial.print(".");
  }

  Serial.println("");
  Serial.println("WiFi connected");
  Serial.println("IP address: ");
  Serial.println(WiFi.localIP());
}

void setup() {
  // Initialize serial communication at 115200 baud rate
  Serial.begin(115200);

  // Configure the flow meter pin as an input
  pinMode(flowMeterPin, INPUT_PULLUP);

  // Attach an interrupt to the flow meter pin, calling the pulseCounter function on each RISING edge
  attachInterrupt(digitalPinToInterrupt(flowMeterPin), pulseCounter, RISING);

  // Initialize WiFi
  setup_wifi();

  // Initialize the IoT Hub client
  iotHubClientHandle = IoTHubClient_LL_CreateFromConnectionString(connectionString, MQTT_Protocol);
  if (iotHubClientHandle == NULL) {
    Serial.println("Failed to create IoT Hub client handle.");
    while (1);
  }

  // Create a queue to hold volume data
  volumeQueue = xQueueCreate(10, sizeof(float));

  // Create a task to send data to Azure IoT Hub
  xTaskCreate(
    sendDataToAzure,  // Task function
    "SendDataToAzure",// Task name
    8192,             // Stack size
    NULL,             // Parameter
    1,                // Priority
    NULL              // Task handle
  );
}

void loop() {
  unsigned long currentMillis = millis();

  // Calculate the flow rate and total volume every second
  if (currentMillis - previousMillis >= interval) {
    // Calculate the volume passed in the last interval (in liters)
    float volumePassed = pulseCount / pulsesPerLiter;

    // Add the volume passed to the total volume
    totalVolume += volumePassed;

    // Print the flow rate and total volume to the serial monitor
    Serial.print("Volume passed: ");
    Serial.print(volumePassed);
    Serial.print(" L | Total volume: ");
    Serial.print(totalVolume);
    Serial.println(" L");

    // Send the volumePassed to the queue
    xQueueSend(volumeQueue, &volumePassed, portMAX_DELAY);

    // Reset pulse count and update previousMillis
    pulseCount = 0;
    previousMillis = currentMillis;
  }
}

void sendDataToAzure(void * parameter) {
  for (;;) {
    float volumePassed;

    // Wait for data in the queue
    if (xQueueReceive(volumeQueue, &volumePassed, portMAX_DELAY) == pdTRUE) {
      // Convert volumePassed to a JSON string
      String jsonPayload = "{\"volumePassed\": " + String(volumePassed, 4) + "}";

      // Send the message to Azure IoT Hub
      IOTHUB_MESSAGE_HANDLE messageHandle = IoTHubMessage_CreateFromString(jsonPayload.c_str());
      if (messageHandle == NULL) {
        Serial.println("Unable to create a new IoTHubMessage");
      } else {
        if (IoTHubClient_LL_SendEventAsync(iotHubClientHandle, messageHandle, NULL, NULL) != IOTHUB_CLIENT_OK) {
          Serial.println("Failed to send message to Azure IoT Hub");
        } else {
          Serial.println("Message sent to Azure IoT Hub: " + jsonPayload);
        }

        // Destroy the message
        IoTHubMessage_Destroy(messageHandle);
      }

      // Do the work required to send the message
      IoTHubClient_LL_DoWork(iotHubClientHandle);
    }
  }
}
Step 3: Configuring CosmosDB and Azure IoT Hub
With the ESP32 programmed and ready to go, the next step was setting up Azure IoT Hub and CosmosDB.
CosmosDB:
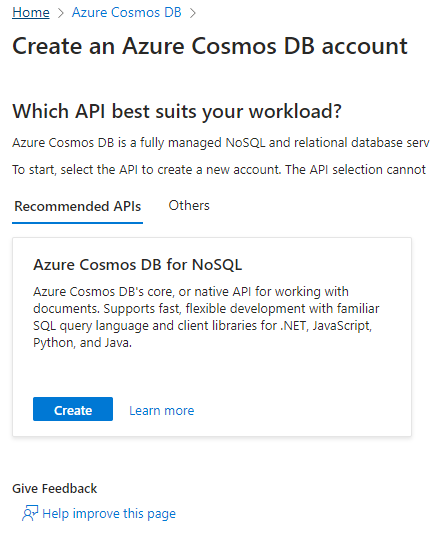
1. Create a new CosmosDB account with a NoSQL API.
I have decided to use the NoSQL instead of MongoDb
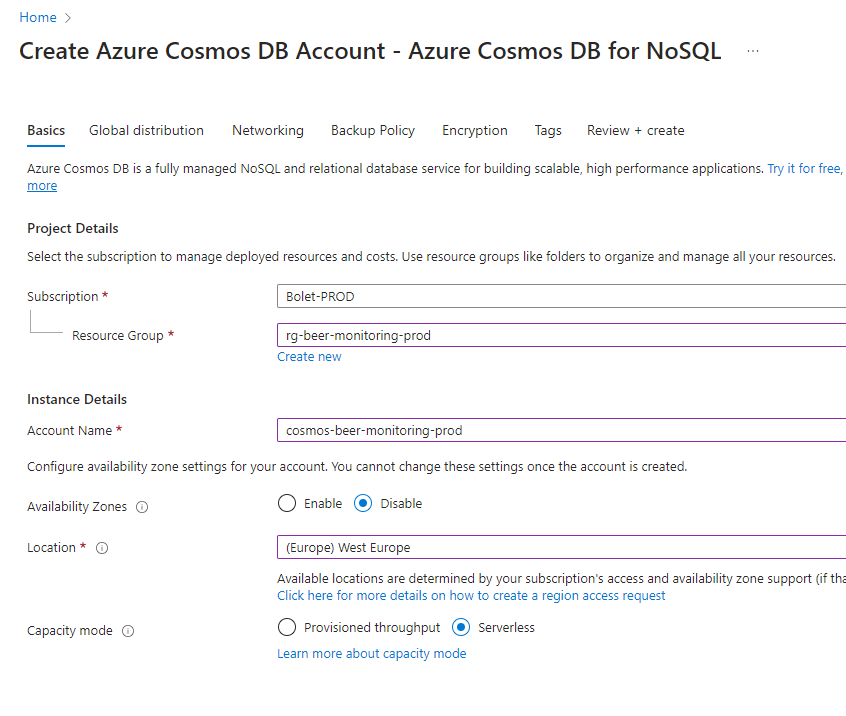
I went with a serverless CosmosDb from a cost point of view since I this is going to be a rather small project and I don't expect any kind of heavy load.
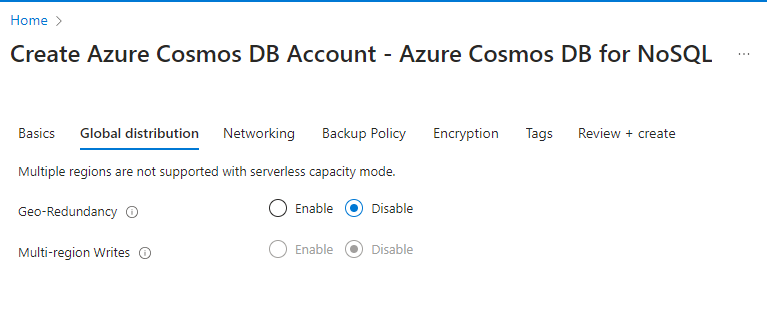
Since this application is just a "for fun" project that doesn't global redundancy I decided to disable this. If I was going to the a more real life production setup I would properly revaluate this if I needed high availability.
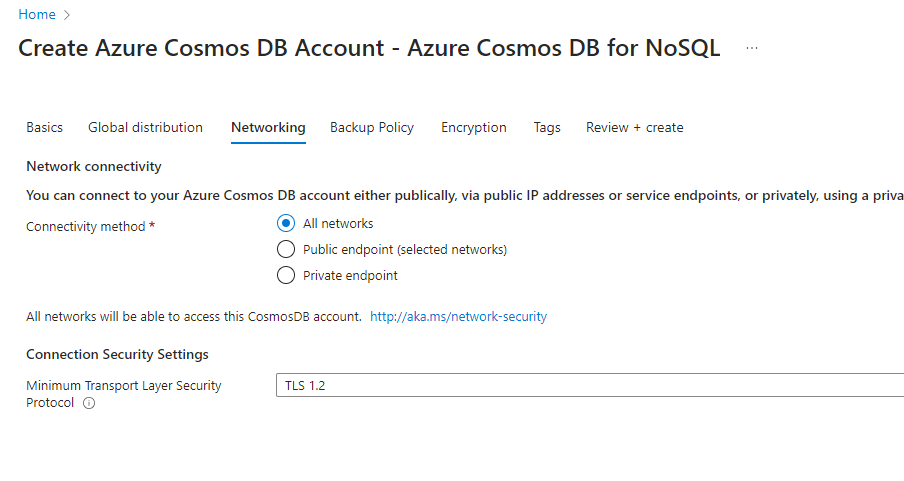
Just like with global redundancy I have decided to have the CosmosDb accessible on the public web. If I was doing a proper production setup would I ensure that everything was locked down in a VNet.
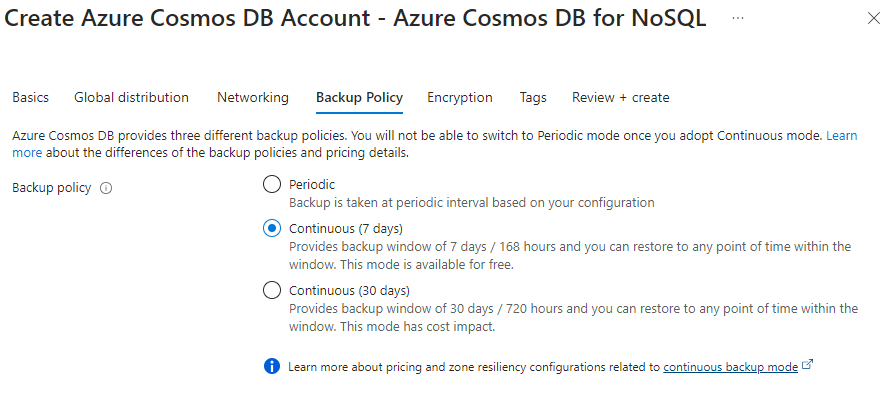
I went with the Continuous (7 days) options since it is the free option.
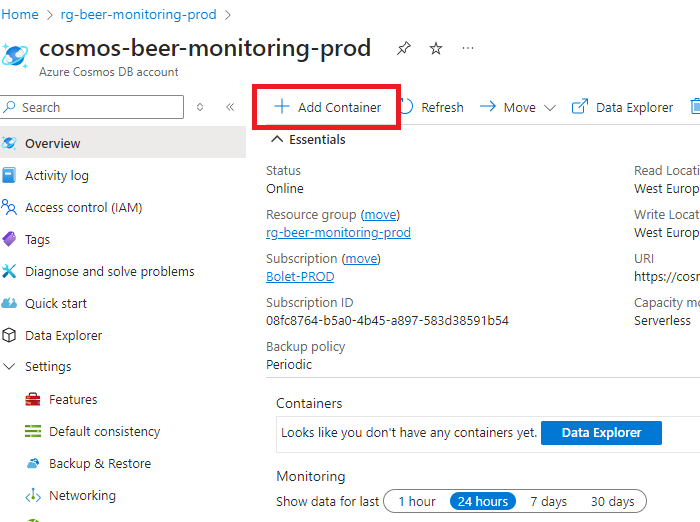
2. Define a database and container to store the beer monitoring data.
I need to add a database and a container to the Azure Cosmos Db account.
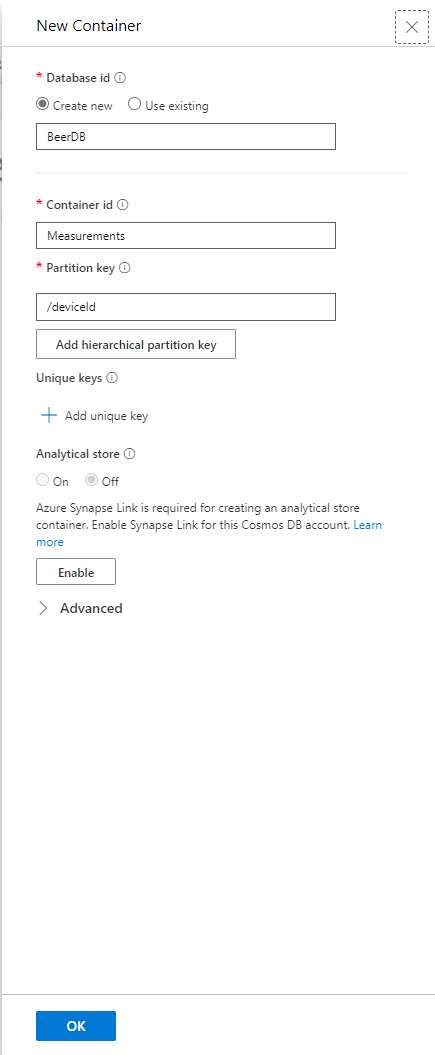
3. Set up a partition key (deviceId) to efficiently store and query data.
This how I named the database, container and what used as partition key. The partition key is a property used to distribute data across multiple partitions for scalability and performance by determining how data is logically grouped and physically stored.
Azure IoT Hub:
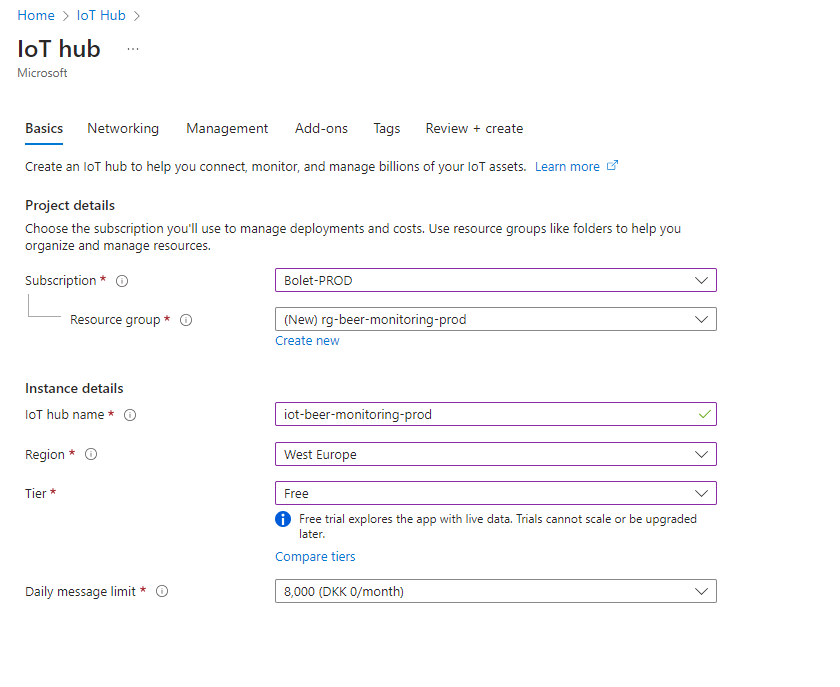
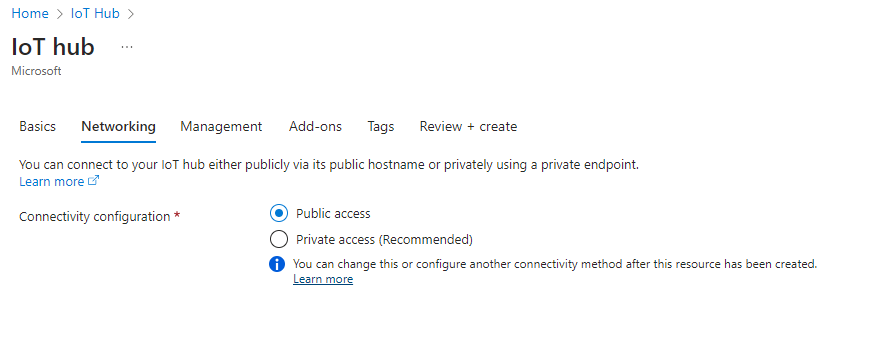
1. Create a new IoT Hub instance on Azure.
Now I went and created the IoT Hub. I went with the free option since as mentioned this setup is not going the a lot of traffic.
Just like the for the Cosmos Db I decided to use the public web. This also makes it much easier when I need to send data to the IoT Hub.
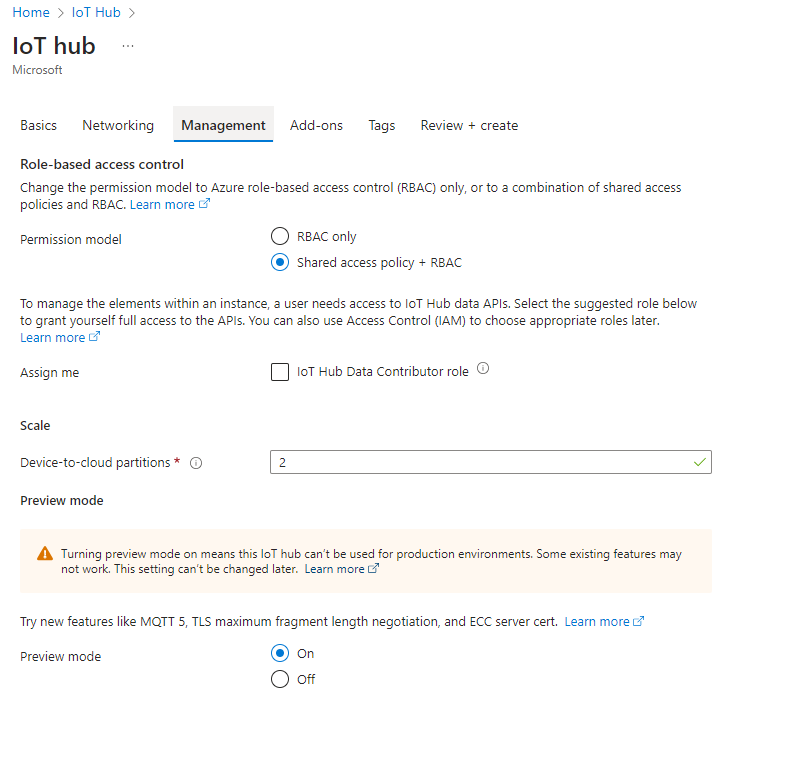
For management I made sure that Shared access policy + RBAC just to make it easier then connecting my ESP32 via Shared access policy.
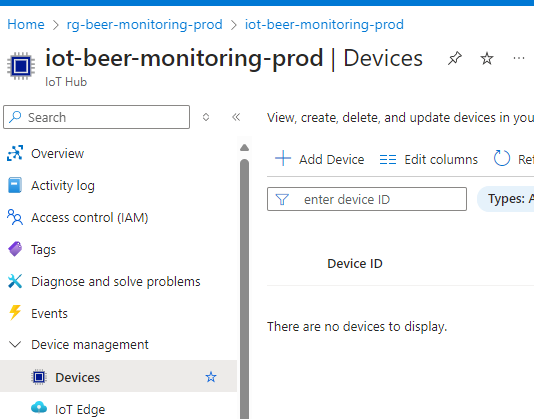
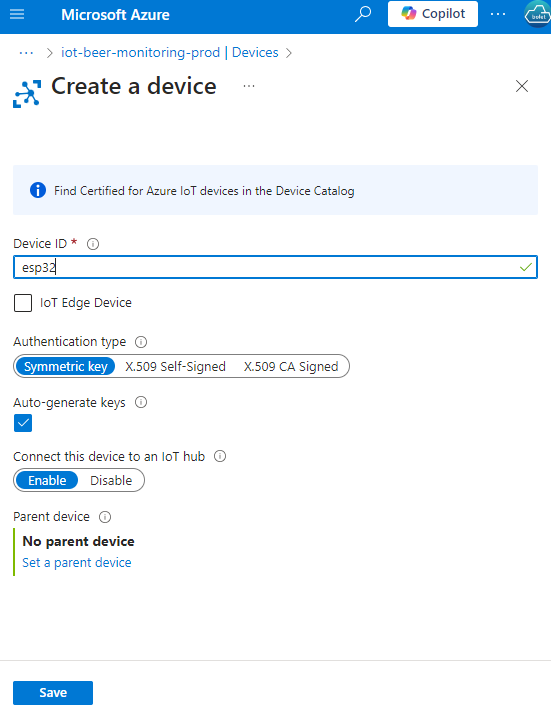
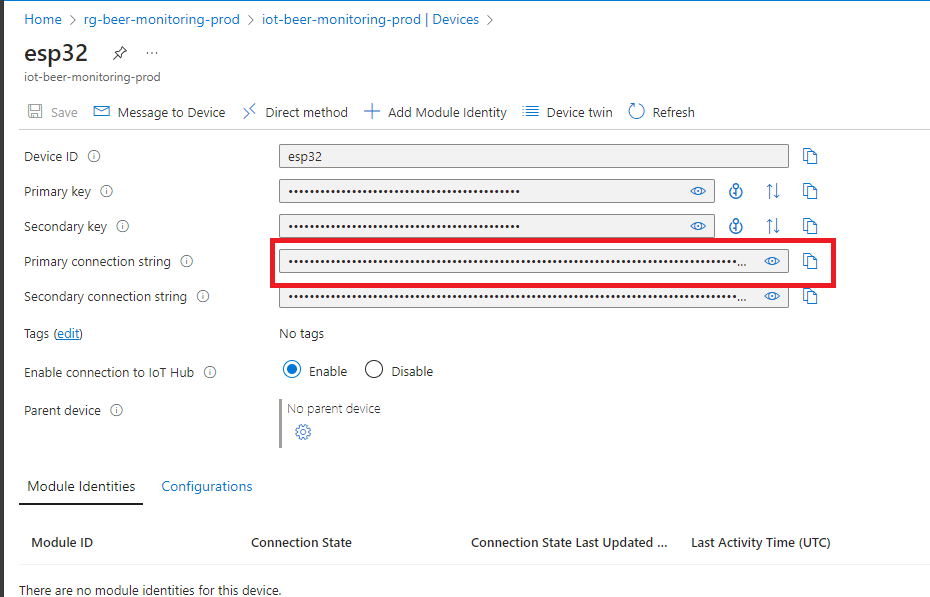
2. Register the ESP32 device and obtain its connection string.
To send the data from the ESP32 to Azure
3. Configure the IoT Hub to route incoming data to a CosmosDB database.
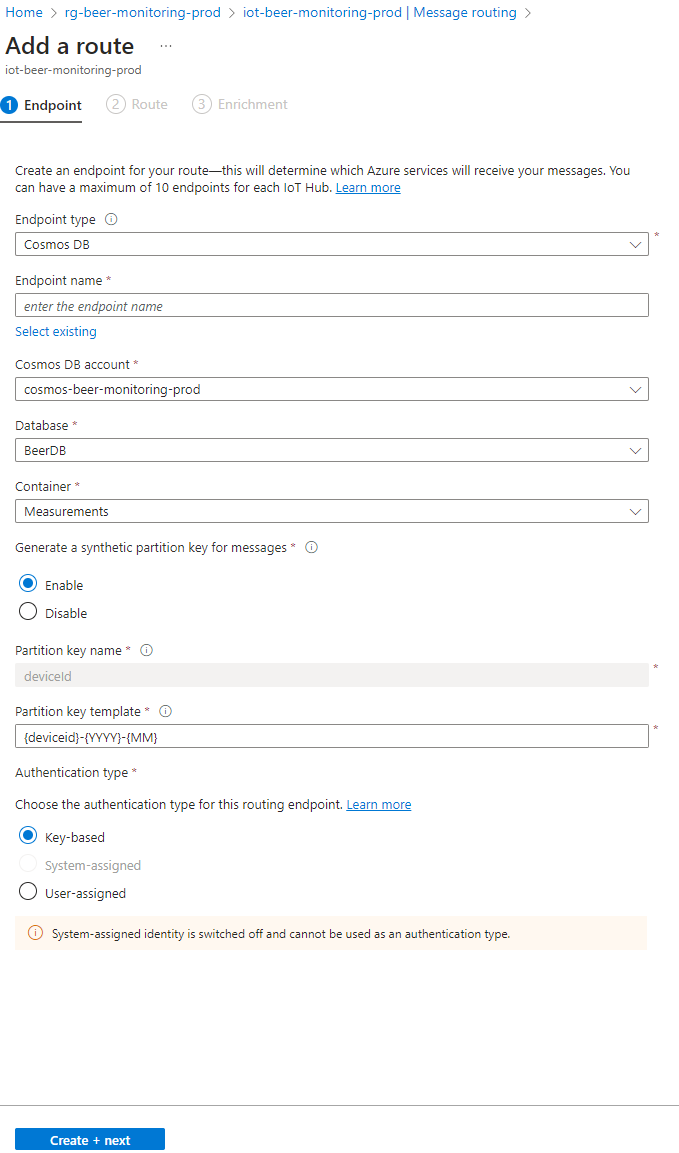
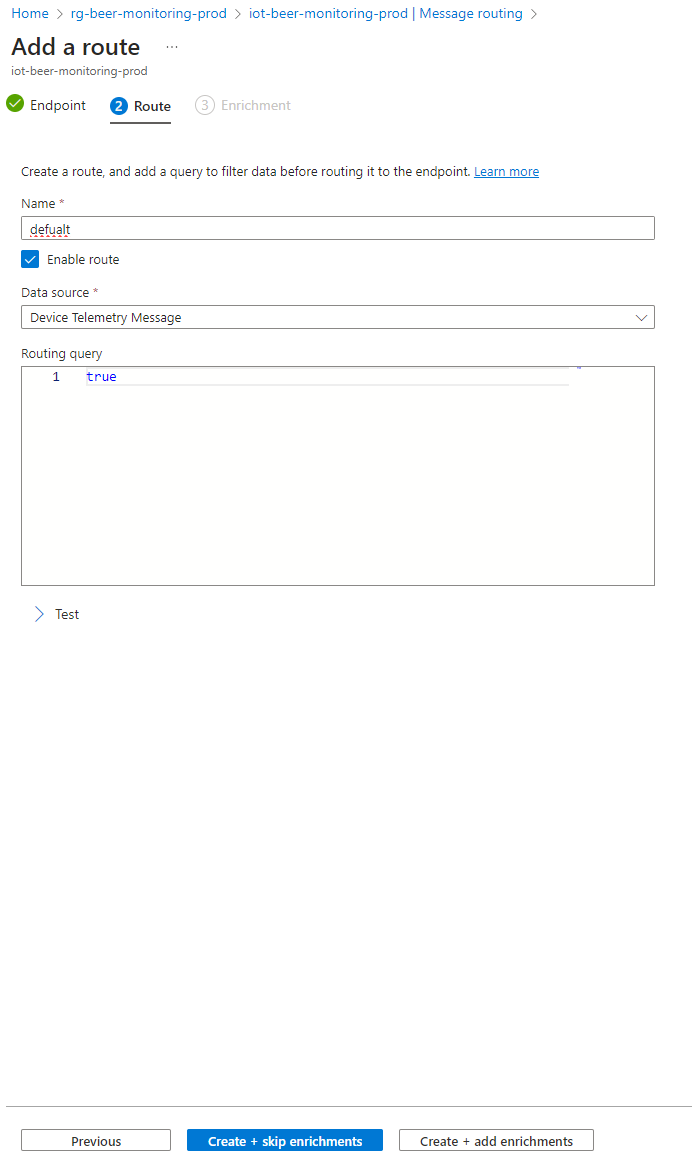
Azure IoT Hub was configured to receive messages from the ESP32 and route them directly to the CosmosDB instance. This setup ensures that all data sent from the flow meter is stored in the cloud, ready to be accessed by our web dashboard.
Step 4: Building the Web Dashboard
The final piece of the puzzle was the web dashboard, where users can monitor the amount of beer left in the keg in real-time. I used a simple HTML/CSS/JavaScript setup with a backend in Node.js to pull data from CosmosDB.
Final Thoughts
By integrating the ESP32, flow meter, Azure IoT Hub, CosmosDB, and a web dashboard, I created a fully functional beer monitoring system that provides real-time insights into the amount of beer left in a keg. This project was not only a great learning experience but also a fun way to apply IoT technology to a practical problem.
Whether you're looking to build your own beer monitoring system or just exploring IoT applications, this project showcases the power and flexibility of modern cloud and microcontroller technologies. Plus, it ensures you’ll never run out of beer unexpectedly!
Happy brewing and happy coding! 🍻